From buying to your first sale
Follow these steps in order.
Need help? Chat with usVisit the website
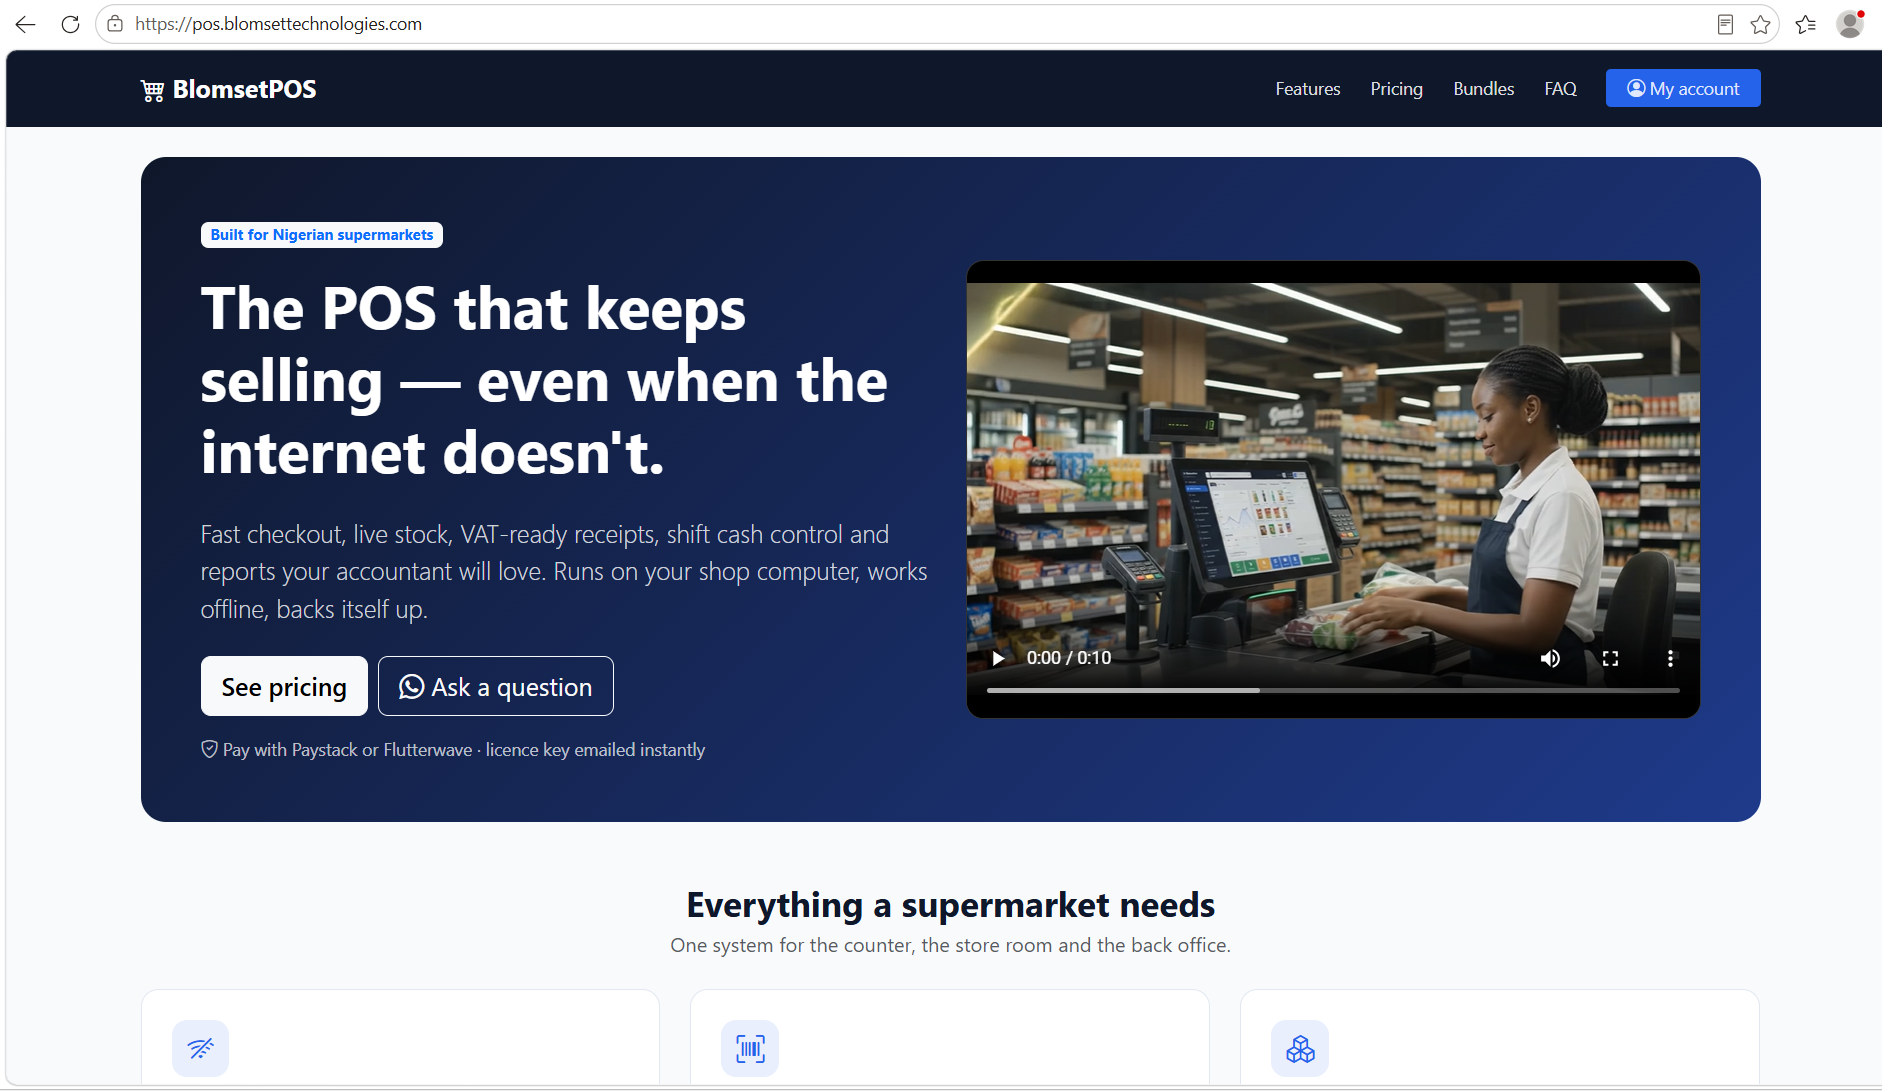
Open pos.blomsettechnologies.com in your browser and look through Features, Pricing, Bundles and FAQ.
Choose a plan and pay
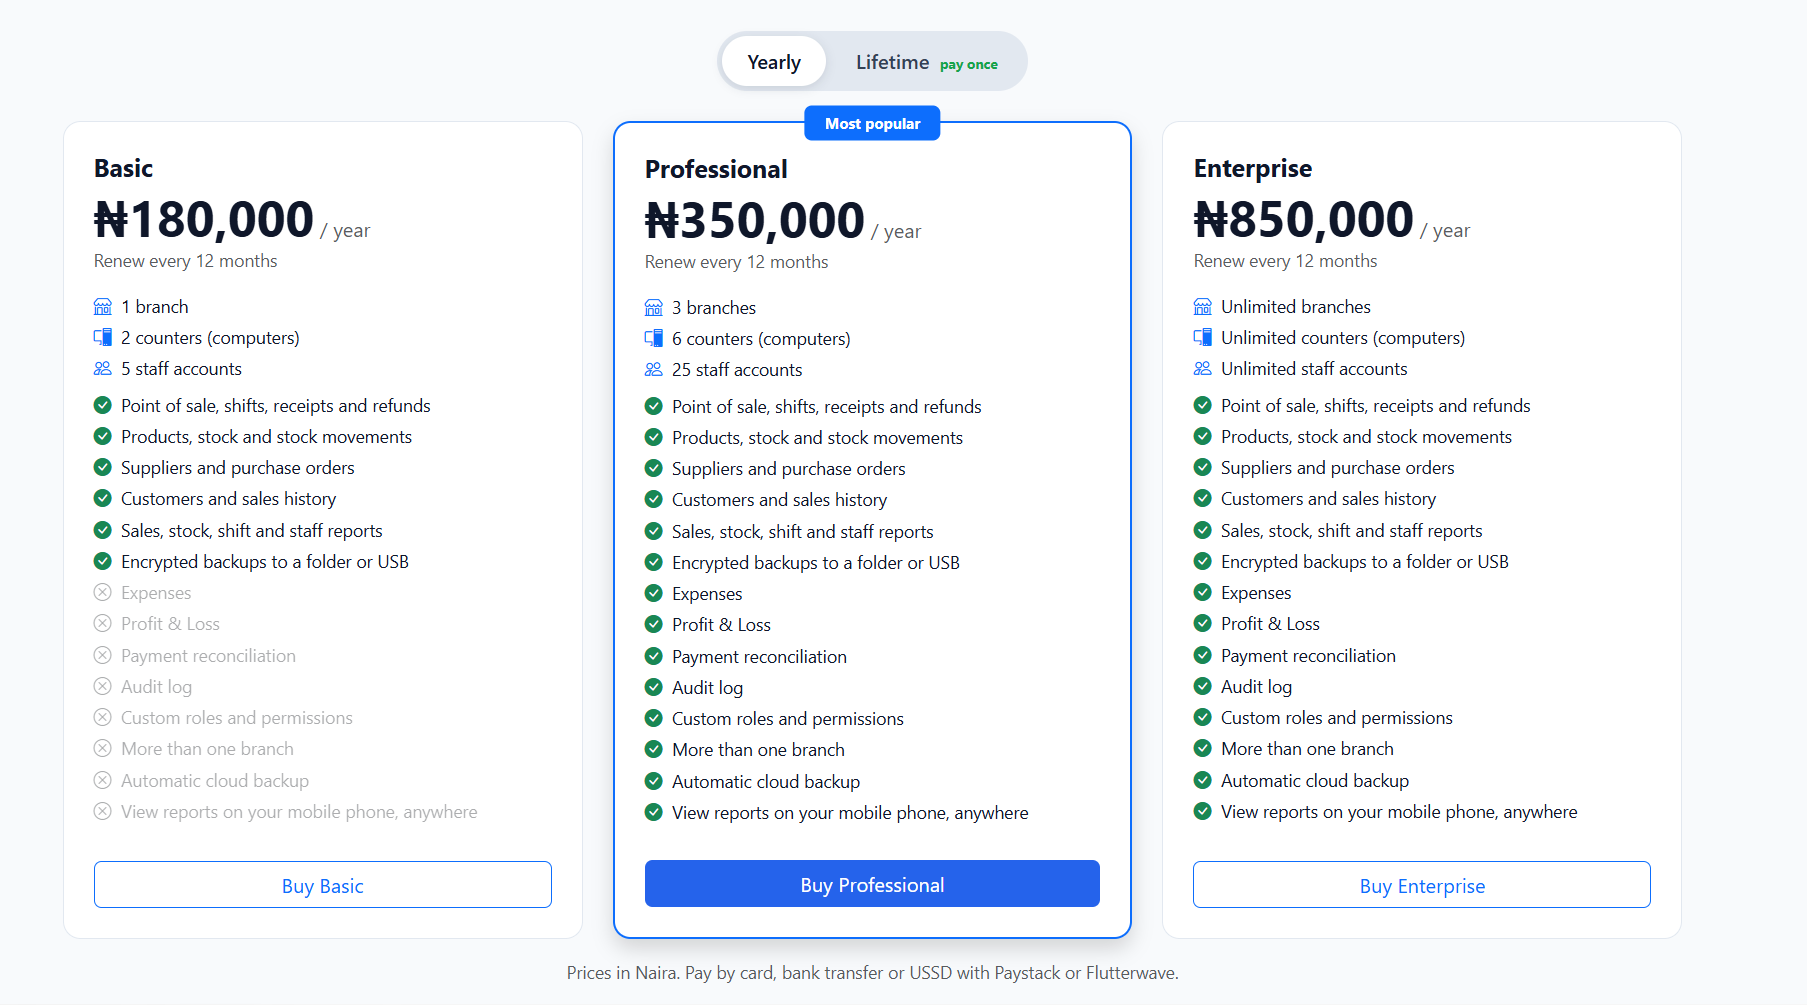
Pick Yearly or Lifetime, press Buy under the plan you want, enter your details and pay with Paystack or Flutterwave (card, transfer or USSD). Use an email address you can open, because your licence key is sent there.
Check your email
You receive an email with your licence key (BPOS-XXXX-XXXX-XXXX-XXXX) and your receipt. If you don't see it, check your Spam folder.
Sign in to your account and download
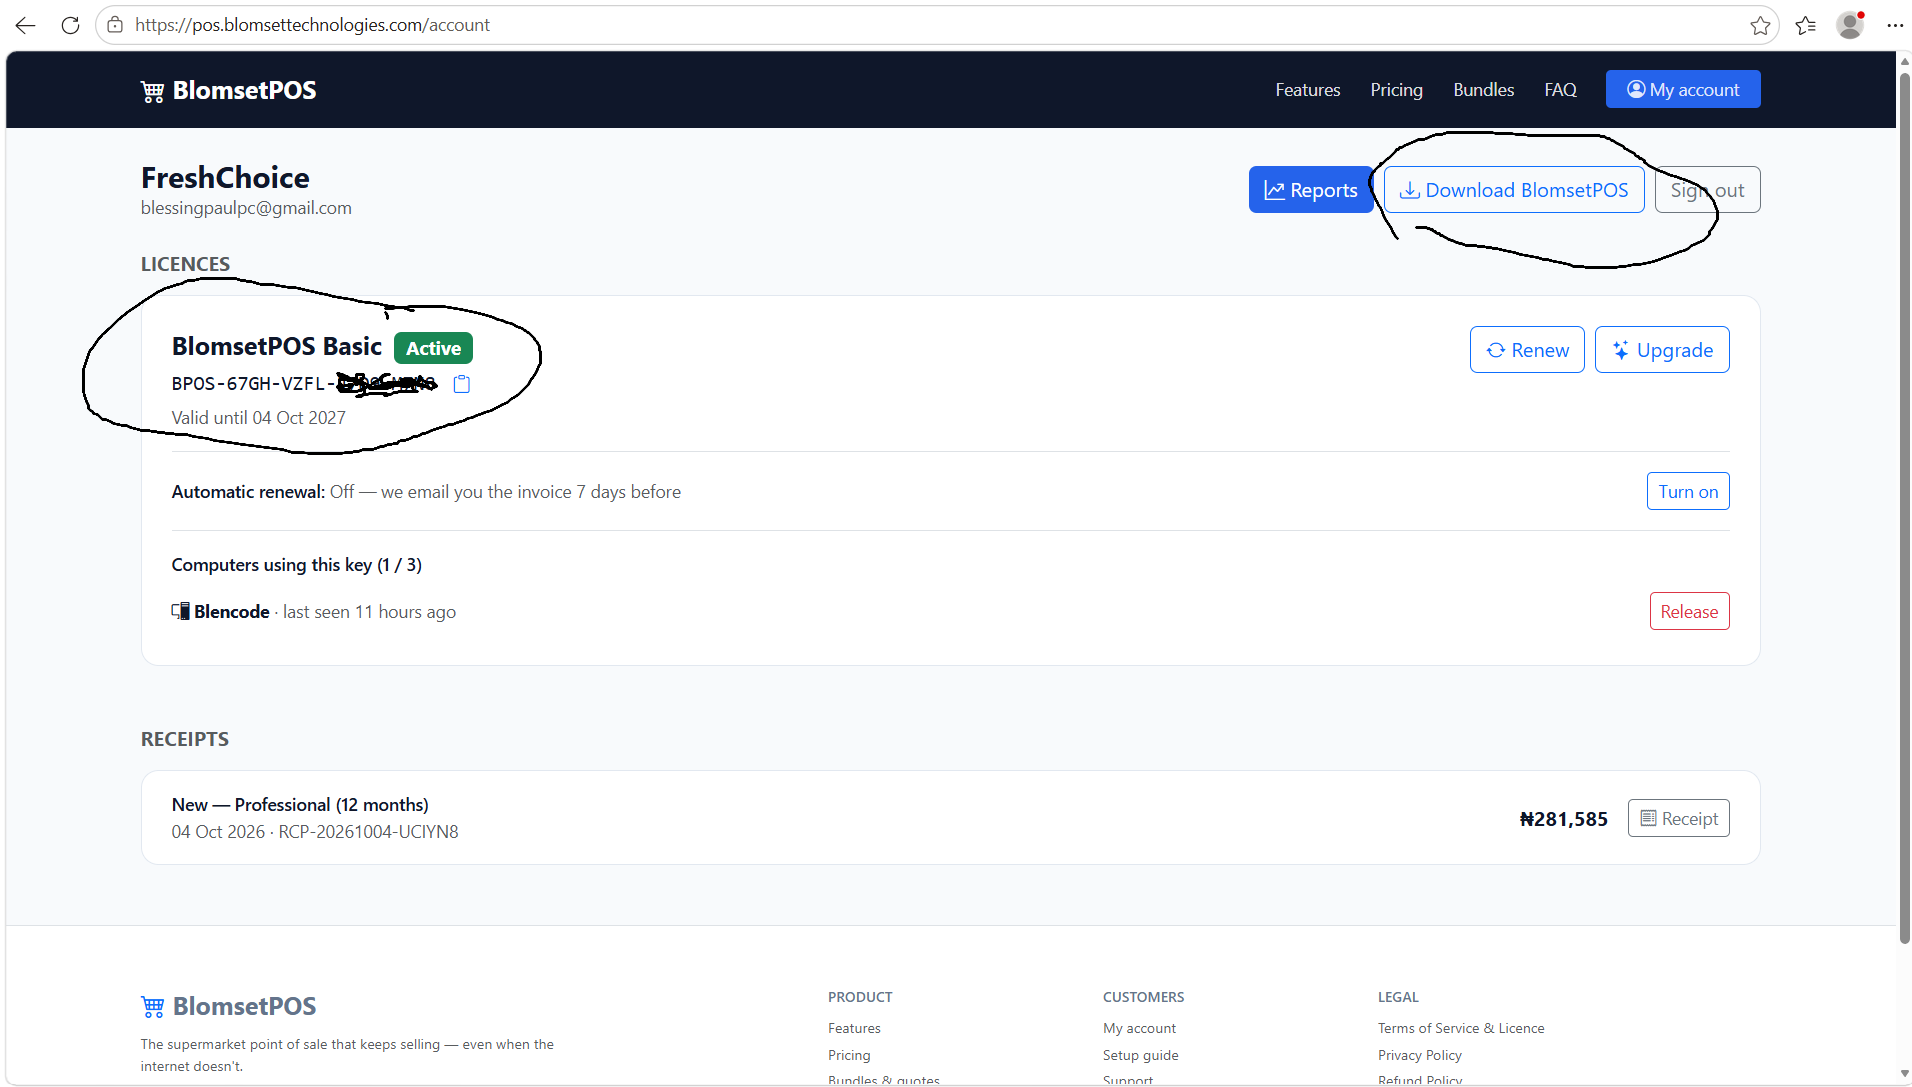
Click "My account" on the website and enter your email. We send you a sign-in link (no password needed). Your licence key is shown on this page. Click "Download BlomsetPOS" to download the zip file.
Install on your computer
Extract the zip file, open the setup file and click Next until it finishes. Keep the default settings. When it is done, open BlomsetPOS from your desktop or Start menu.
Set up your shop and admin login
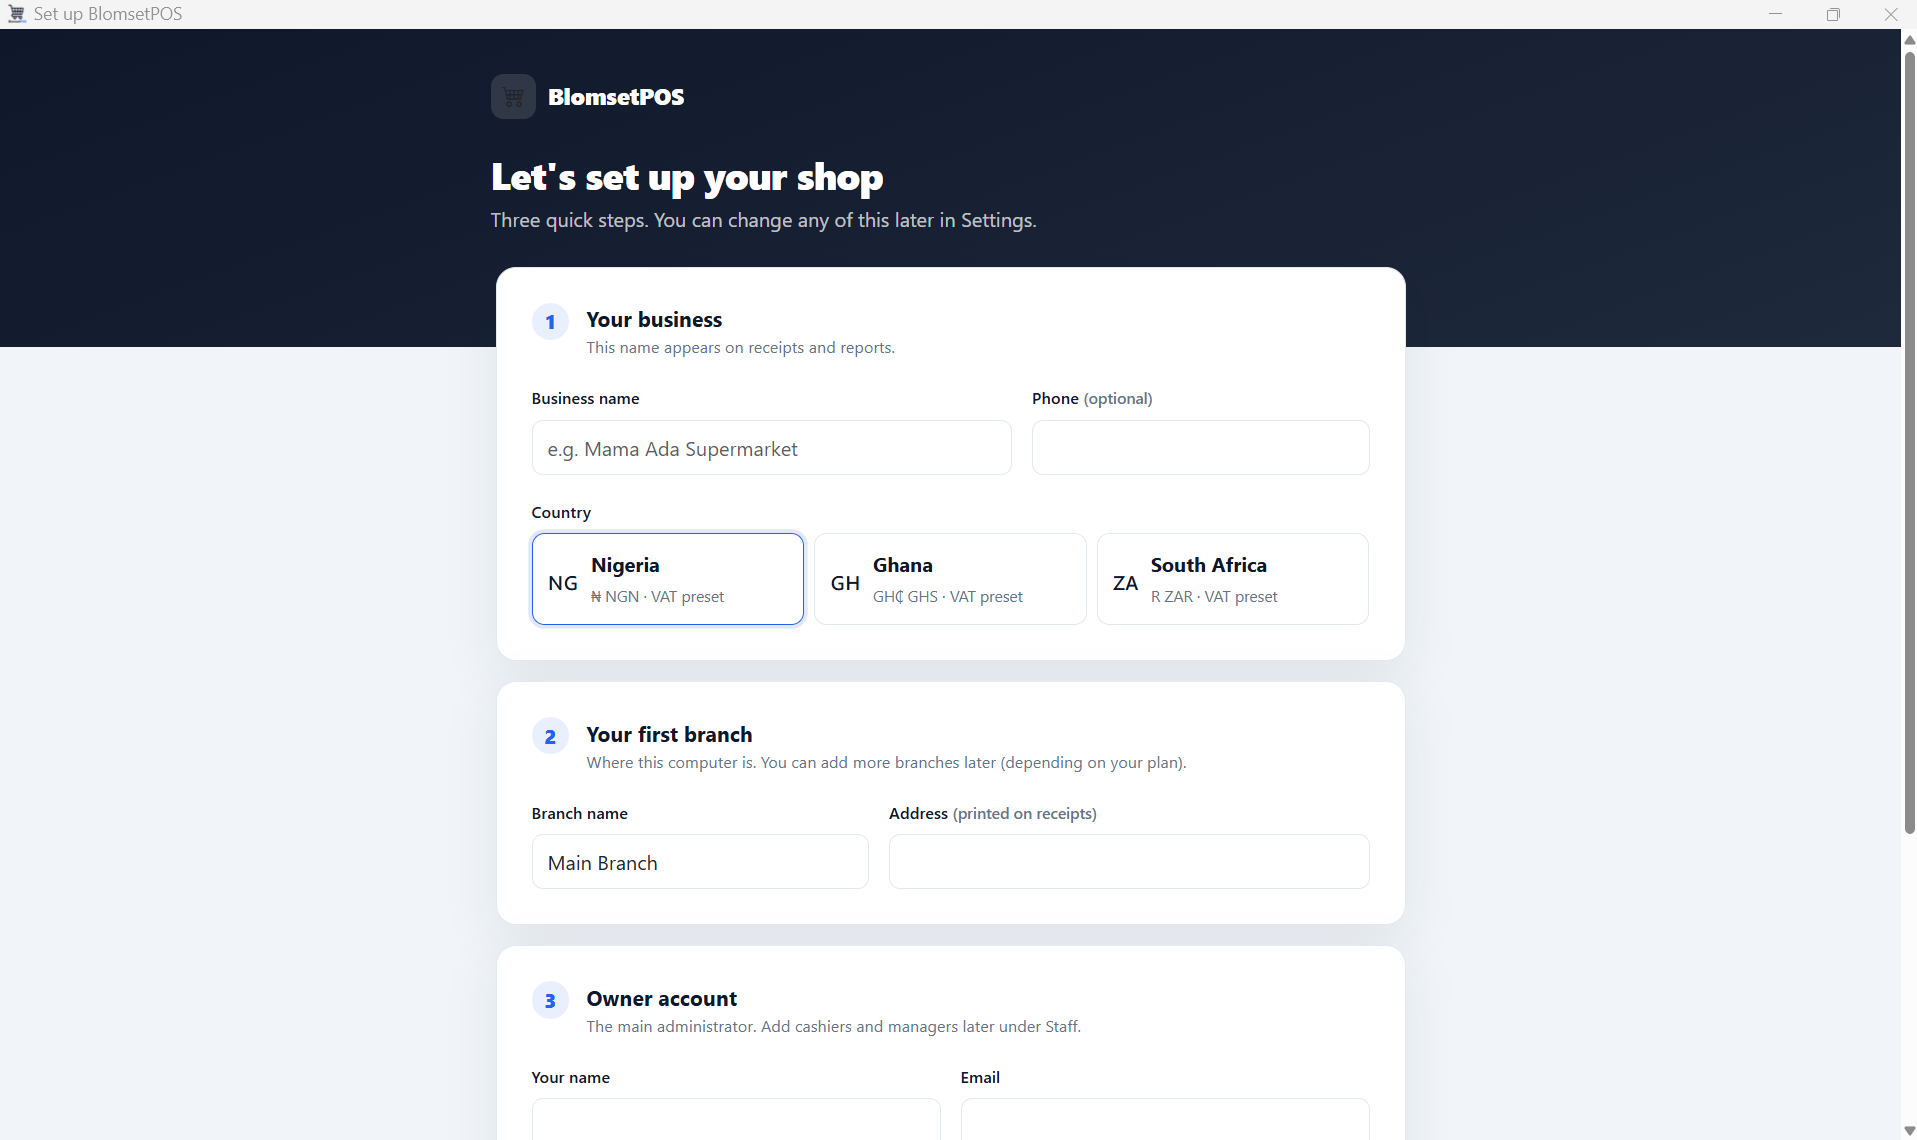
The first time it opens, enter your business name, phone and country, your first branch name and address, then your own name, email and password. This is your admin login, so keep it safe.
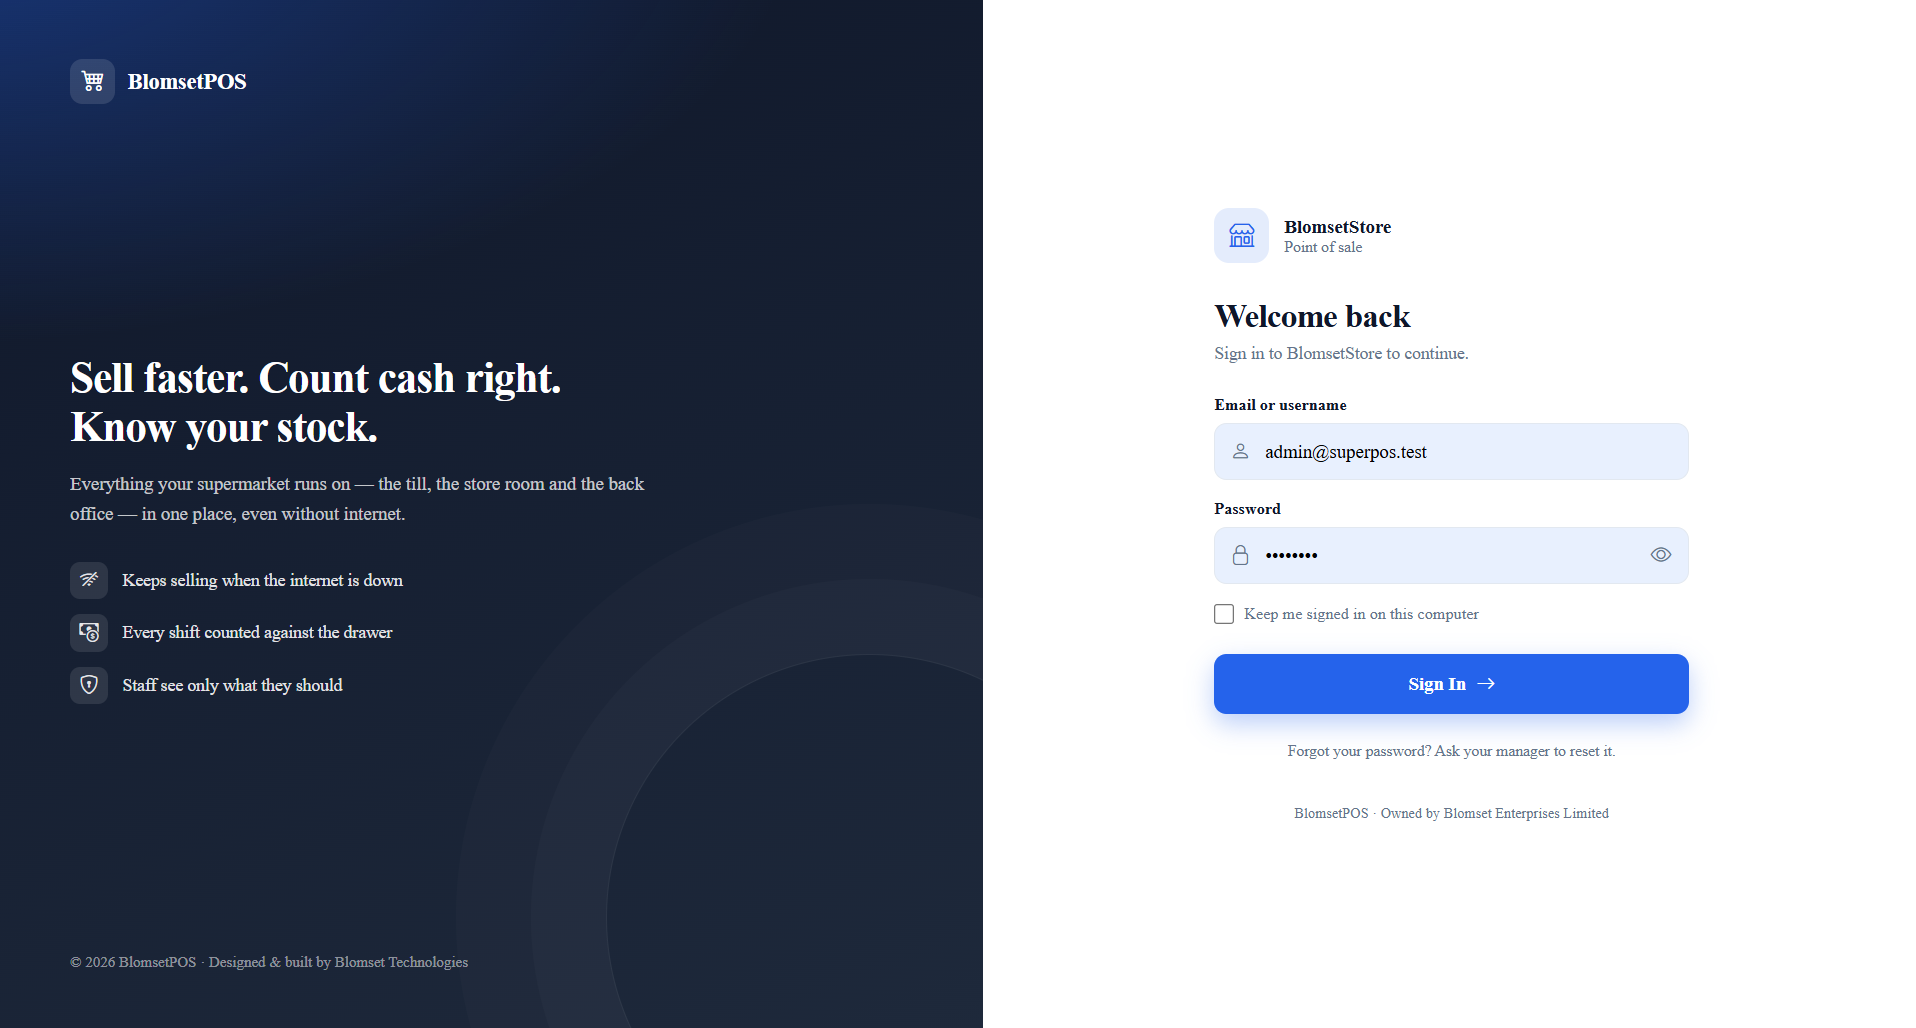
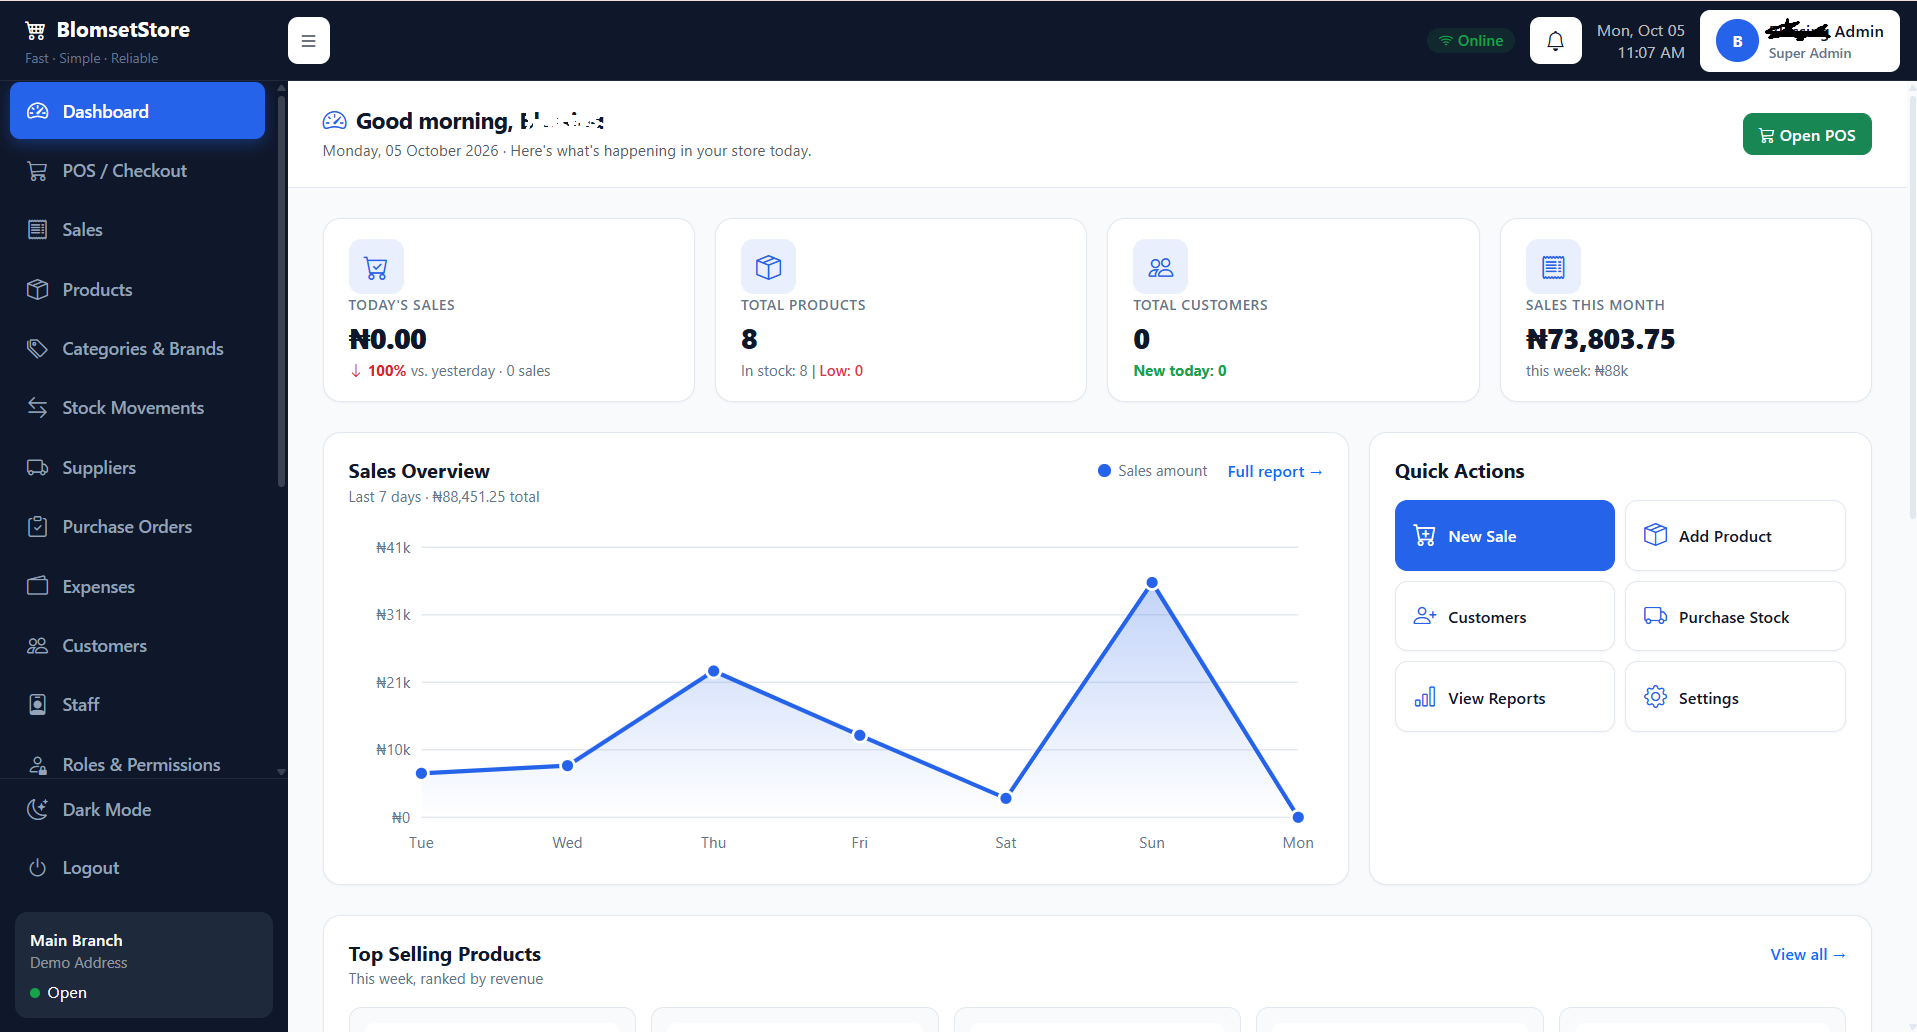
Sign in
Sign in with the email and password you just created.
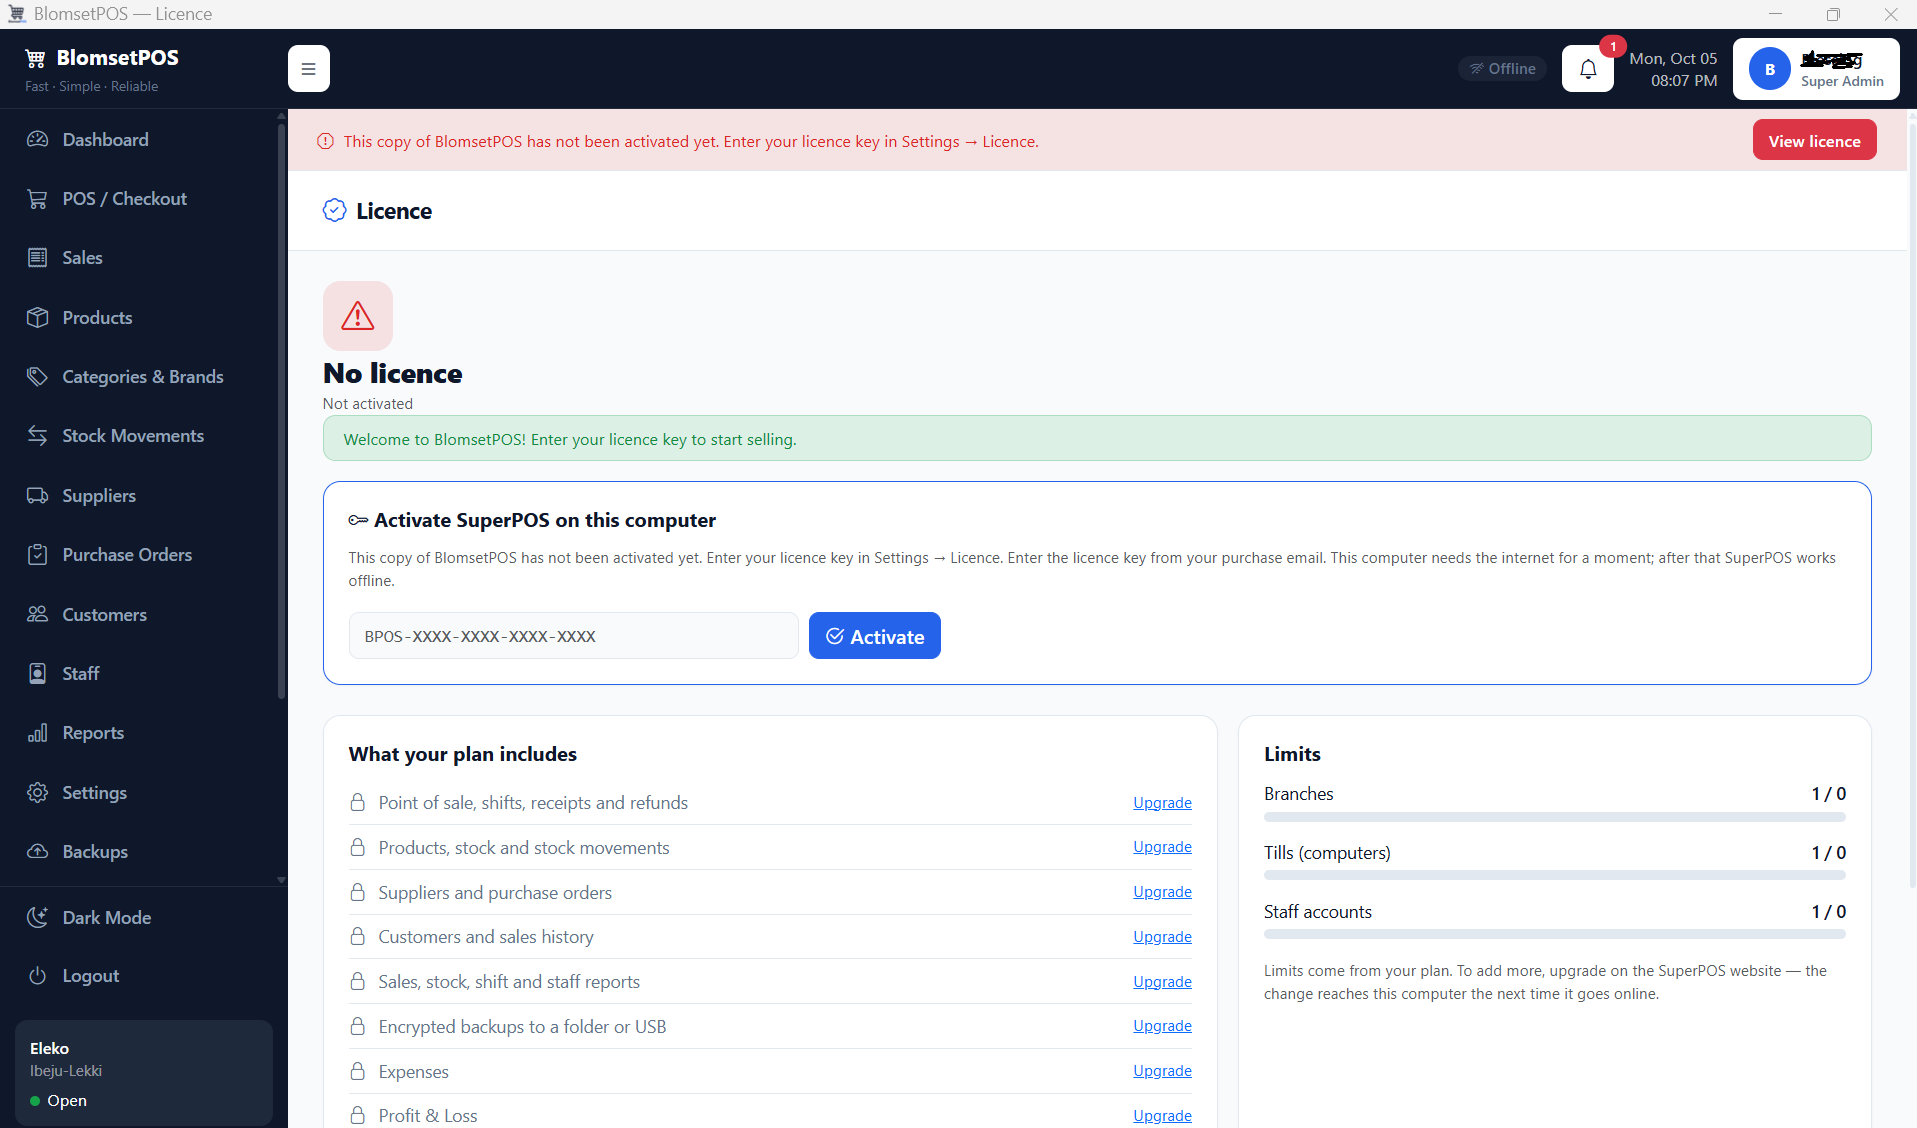
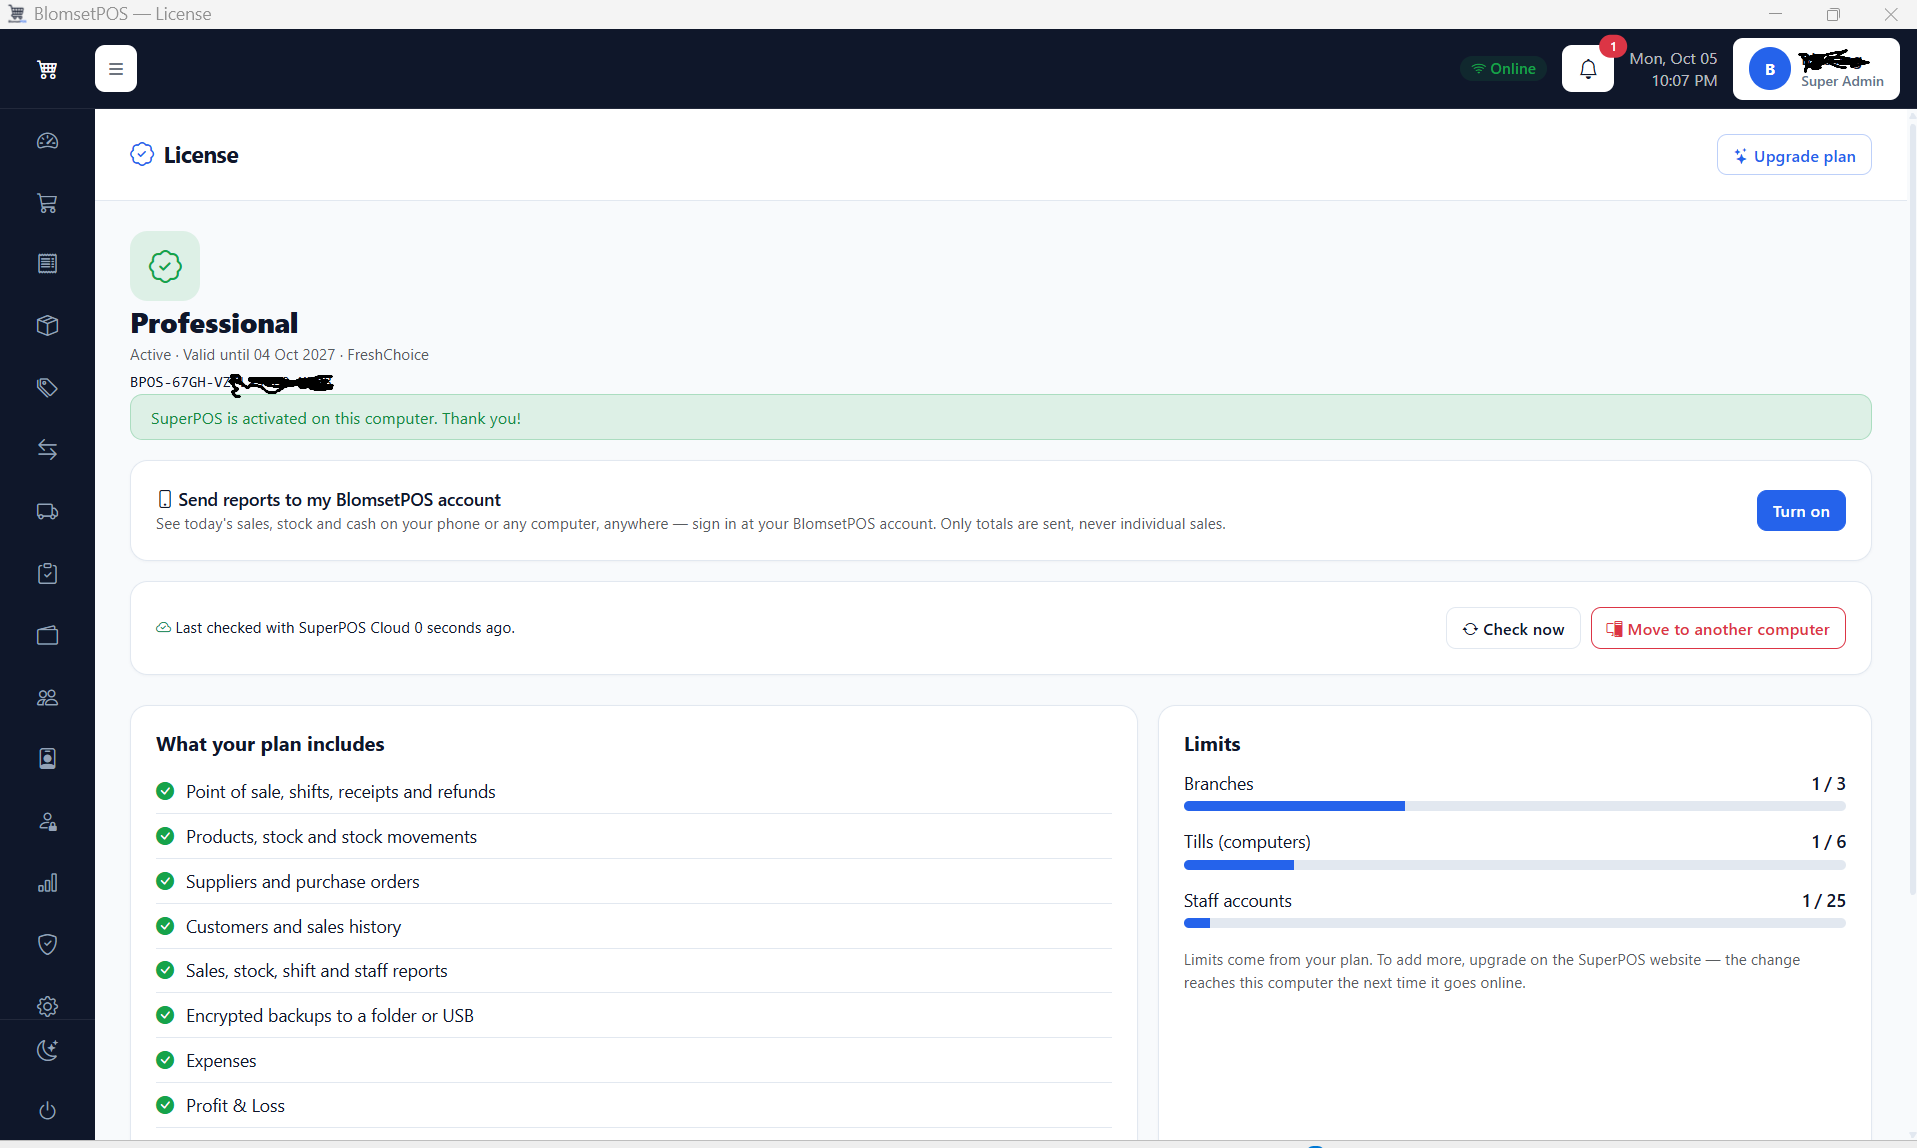
Activate your licence
Go to Settings → Licence (or click "View licence" on the red banner), paste your licence key and press Activate. The computer needs internet for this step only. After that, BlomsetPOS works offline.
Set up your store in Settings
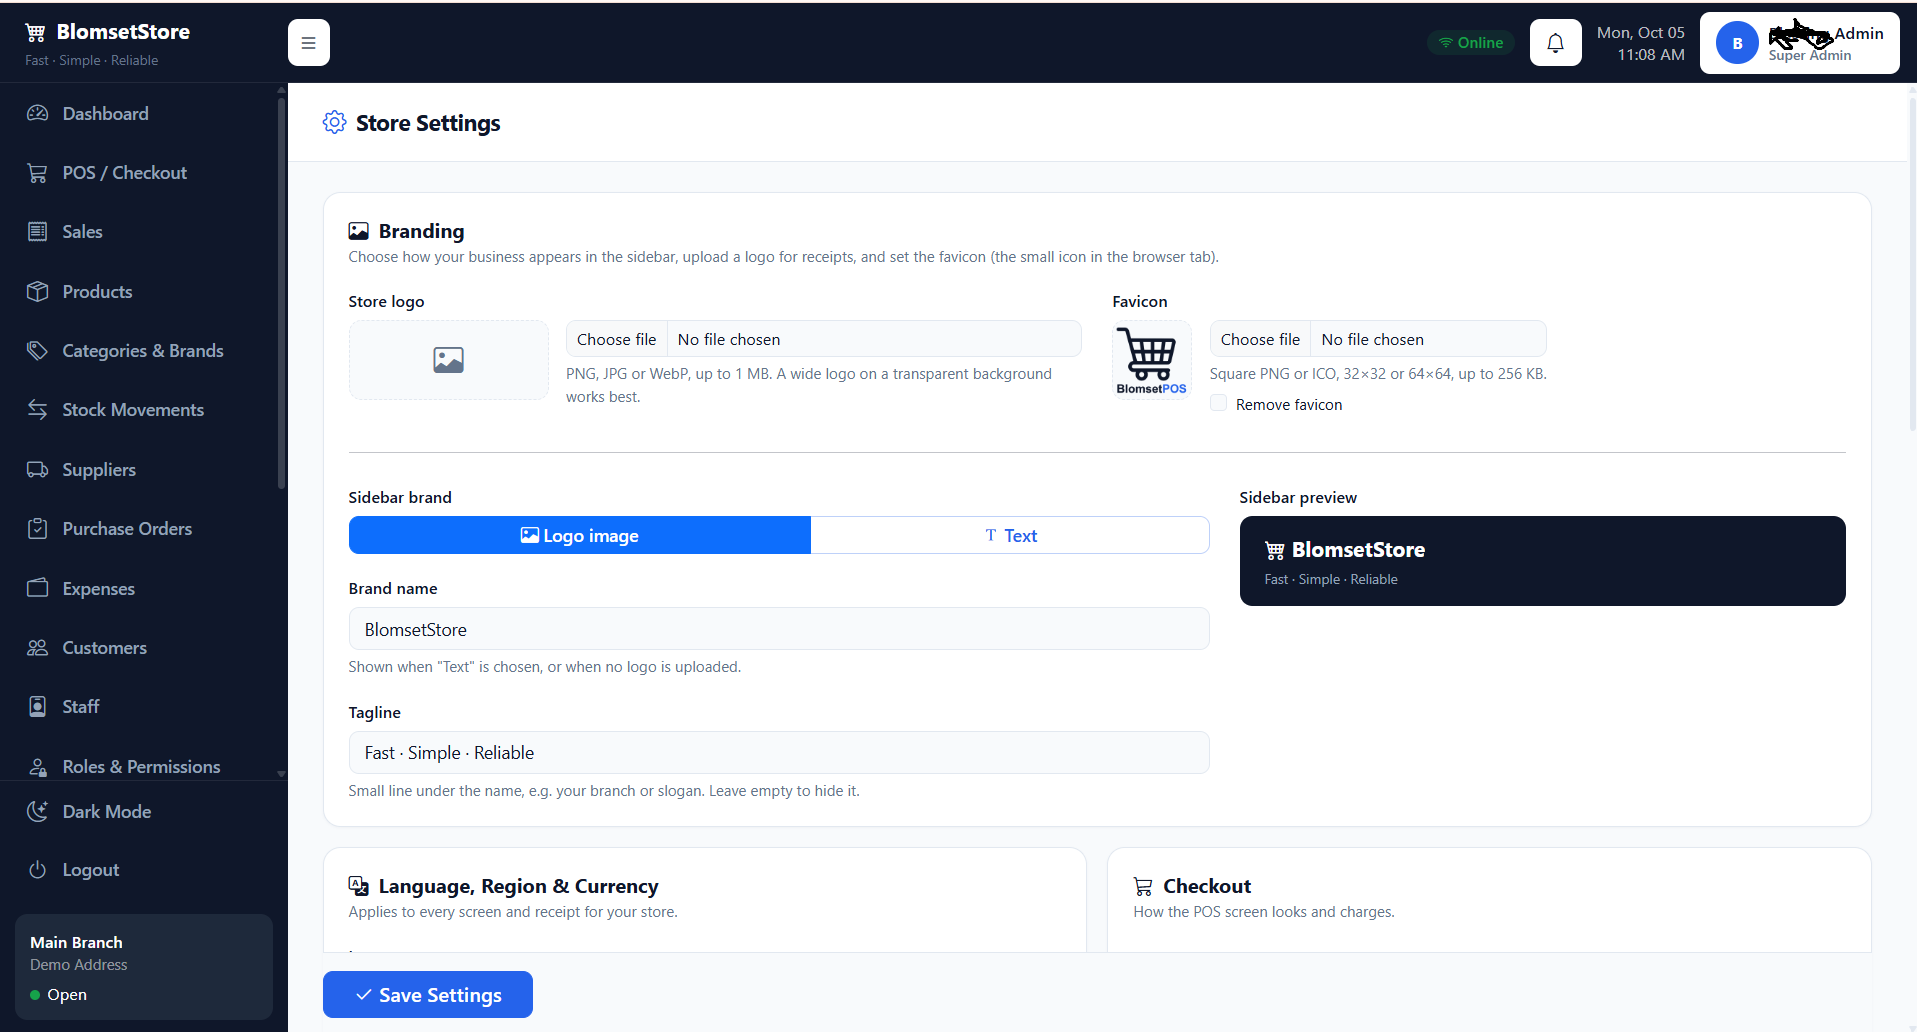
Open Settings to add your logo, check your currency and tax, set your receipt message and choose your payment methods. Press Save Settings when you are done.
Create your cashiers
Go to Staff and add each person with a name, email or username, a role (such as Cashier or Manager) and a branch.
Add your products and stock
Create your Categories & Brands first, then add your Products with barcode, price and opening stock. Use Suppliers and Purchase Orders to record new deliveries.
Open a shift and make your first sale
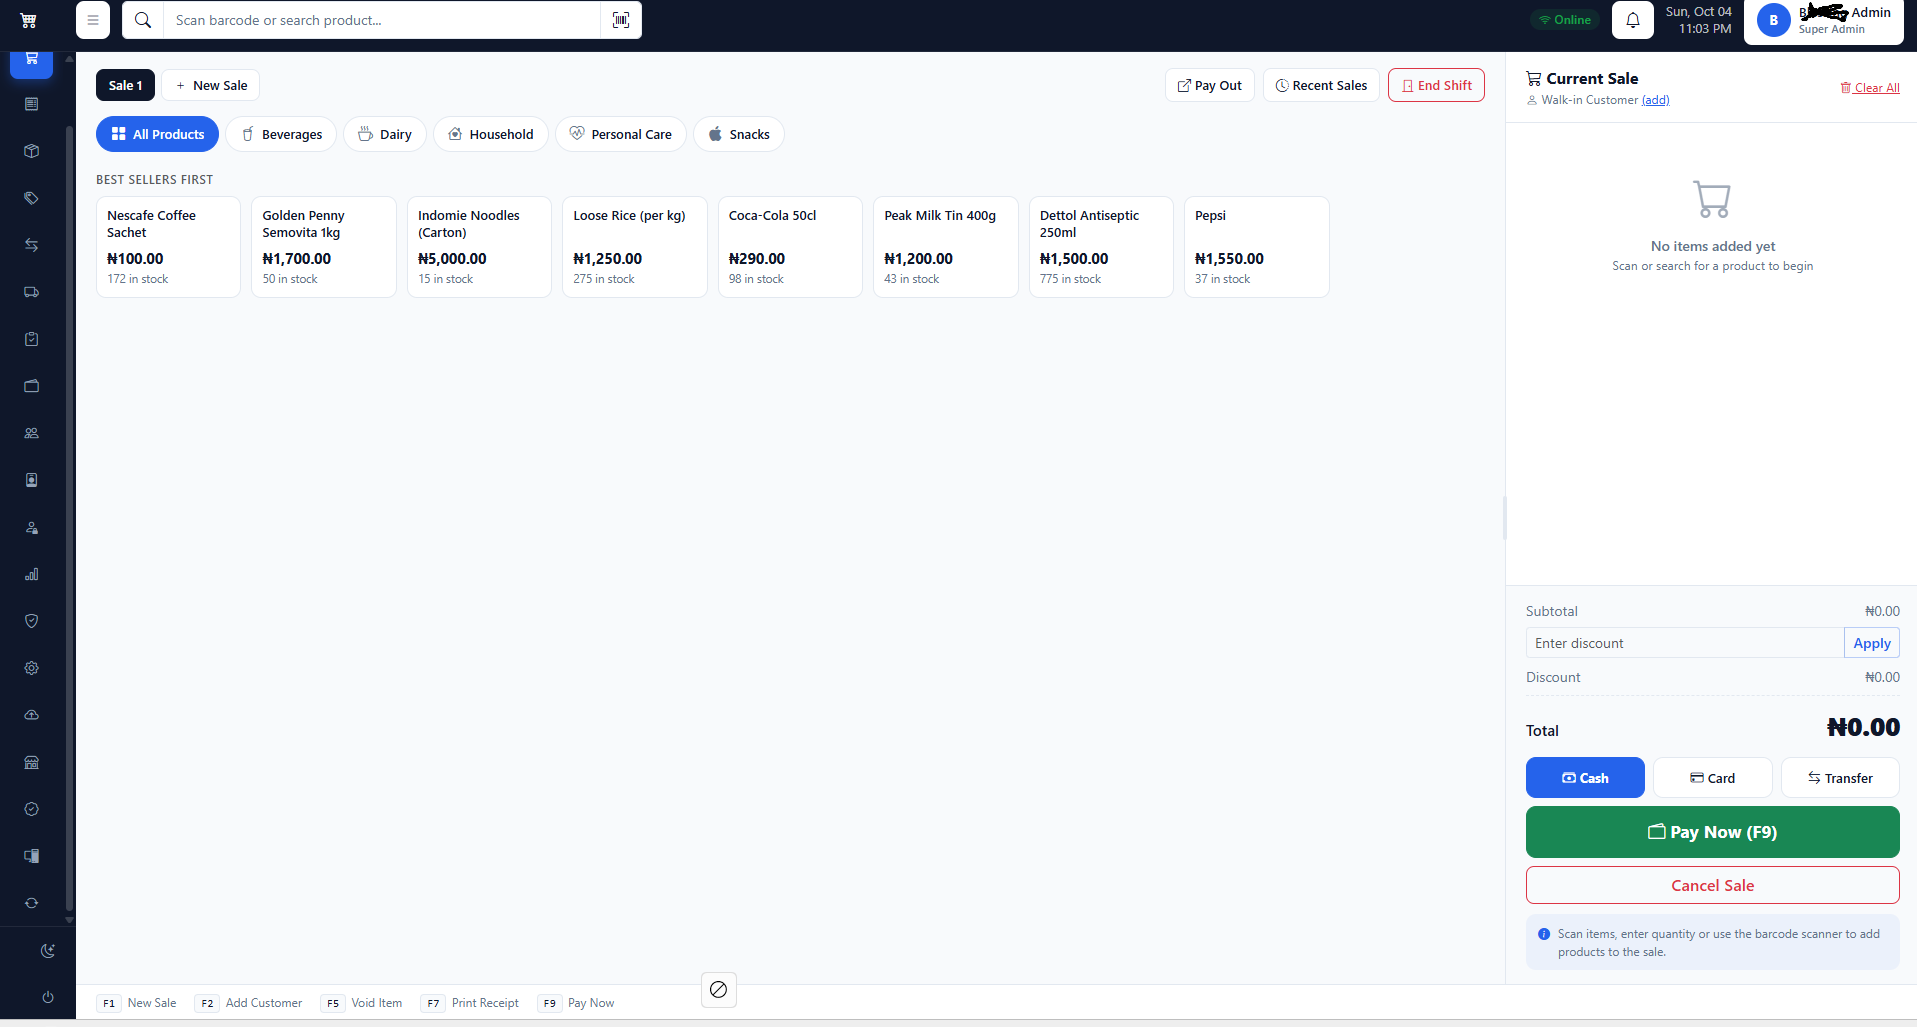
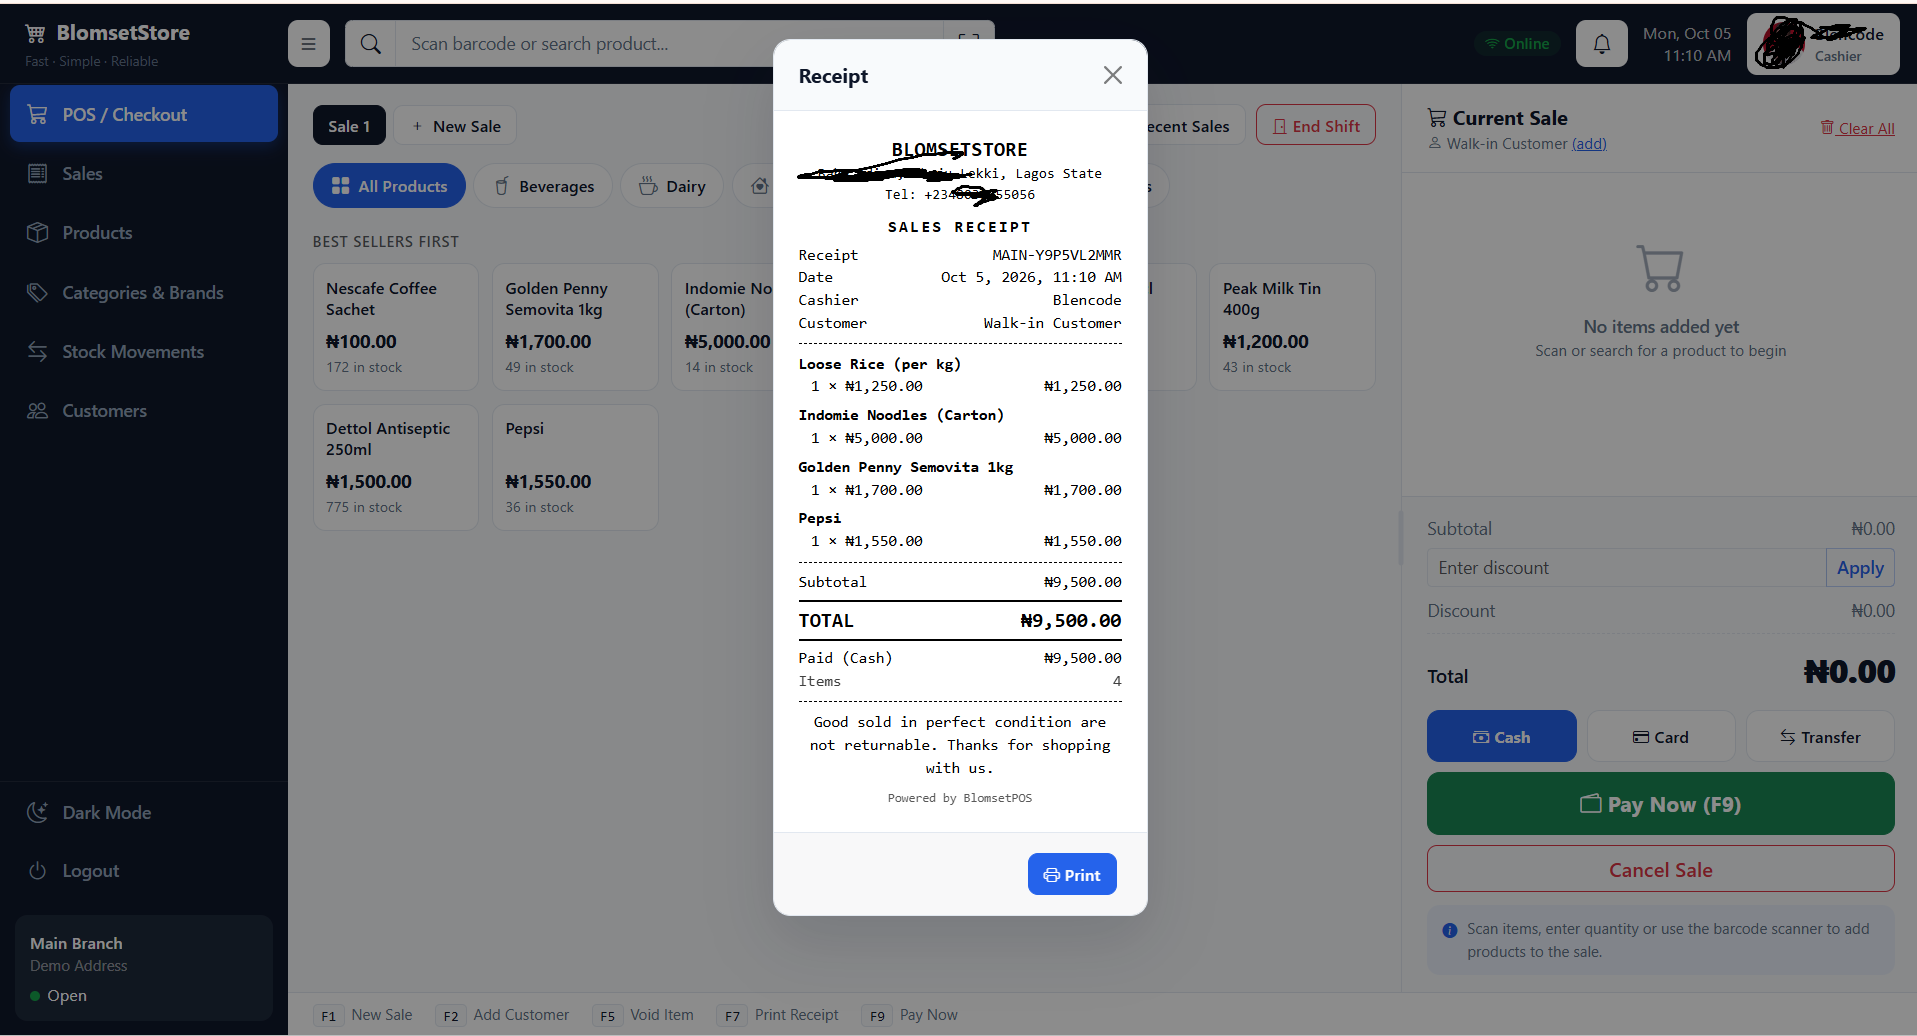
Open POS / Checkout and start a shift with the cash in your drawer. Scan or tap products, choose Cash, Card or Transfer, then press Pay Now (F9). At closing time, press End Shift and enter the cash you counted.
Set up backups
Go to Backups, set a backup password and choose a schedule. Keep the password safe, because we cannot recover your backups without it.
You are ready to sell!
Need a hand with any step? Message us and we will help.
Chat on WhatsApp